Turn on suggestions
Auto-suggest helps you quickly narrow down your search results by suggesting possible matches as you type.
- Sinch Community
- Messaging
- Conversation API
- How to add a webhook to a Conversation API app
Options
- Subscribe to RSS Feed
- Mark as New
- Mark as Read
- Bookmark
- Subscribe
- Printer Friendly Page
- Report Inappropriate Content
The Conversation API delivers contact messages, delivery receipts for app messages and various notifications through callbacks. You can create up-to 5 endpoints (webhooks) per conversation API app through the Sinch Customer Dashboard or by using the /webhooks management endpoint.
To add a new webhook to your Conversation API app:
- Log in to the Sinch Customer Dashboard.
- Select Conversation API from the left menu and select the Apps option. The Conversation Apps page is displayed.
- Click the name of the app to which you want to add the webhook. For example, click TestApp. The TestApp setup page is displayed. Scroll down to the Webhooks section:
Note: If you do not already have a Conversation API App – click here to learn how to create one. - Click ADD WEBHOOK. The New webhook dialog box is displayed:
- In the Target type drop-down, select HTTP.
- In the Target URL field, enter the URL to which you want the webhook to point.
- If you want the webhook to validate against your chosen endpoint using HMAC, enter the token you want the webhook to use in the Secret token field.
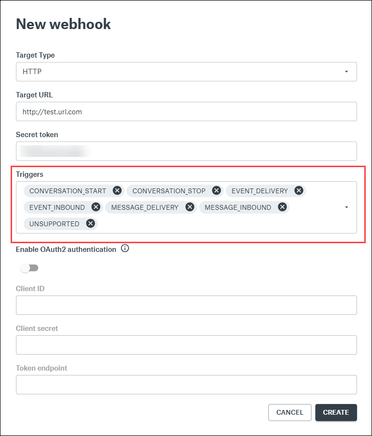
- Select all the triggers you want to add to the webhook, in the Triggers down-down:
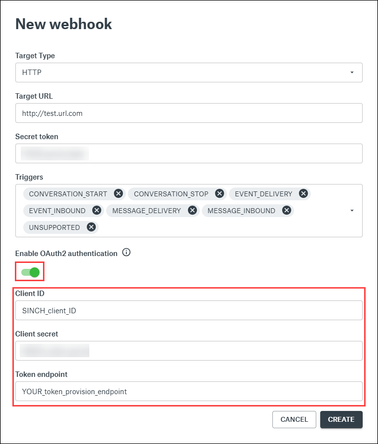
For more information about the kinds of information and events the triggers can return, see the webhook triggers documentation. - To configure OAuth2.0 authentication, click the button under Enable OAuth2 authentication. Populate the Client ID, Client secret, and Token endpoint fields with the credentials Sinch will use to authenticate against the OAuth token-provision endpoint.
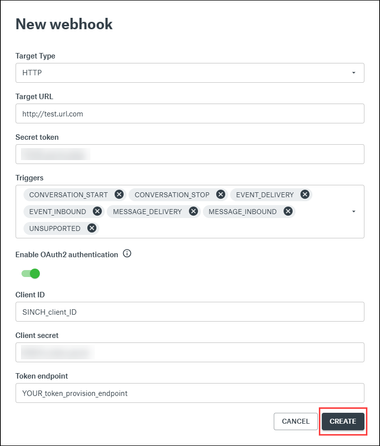
- Click Create to add the webhook.
- The webhook is created and is displayed in the Webhooks section of the app page.
Labels:
Options
- Mark as New
- Bookmark
- Subscribe
- Mute
- Subscribe to RSS Feed
- Permalink
- Report Inappropriate Content
Featured Article
Community Manager
Watch this demo video to get a feel for how to make the most of connected conversations using Conversation API and the easily accessible demo on the Sinch customer dashboard:
The video shows you how you can get stared with Sinch using one simple API to reach customers over multiple channels and deliver a mobile-first experience that's out of this world.
Useful Links:
- Conversation API Getting Started Guide - takes you through all the different steps of creating your first app with Conversation API.
- Sinch Developer Documentation - contains comprehensive documentation and tutorials, which show you how you can quickly create and configure your first Conversation API app.
- Learn more about Sinch Conversation API.


